10 Car Battery Jumper Buying Tips for Buyers

Choosing a Car Battery Jumper is less about buying the biggest number on the box and more about matching the tool to your vehicle. A compact unit may suit a small sedan, while a larger engine can demand higher starting current. Check your owner’s manual and the jumper’s specifications before comparing prices. Small details matter.

For this guide, automotive electrical specialist Evan Brooks offers a practical reminder: “A reliable jumper is one you can use confidently, with the right capacity and safety features for your vehicle.” Look beyond peak amps. Compare voltage, supported engine size, clamp design, cable reach, and reverse-polarity protection. A short cable can make awkward parking-lot connections harder. Read the instructions before an emergency, not beside a dark roadside.

The buying tips ahead also consider battery chemistry, charging options, built-in lights, storage, warranty, and cold-weather performance. Some features sound reassuring but may add little for your routine. Be honest about that. Check the unit’s charge level regularly, and replace damaged cables or clamps rather than hoping they will hold. No portable device fits every car or every situation. These points help buyers judge trade-offs, ask better questions, and choose a Car Battery Jumper suited to everyday needs—not just an impressive package.
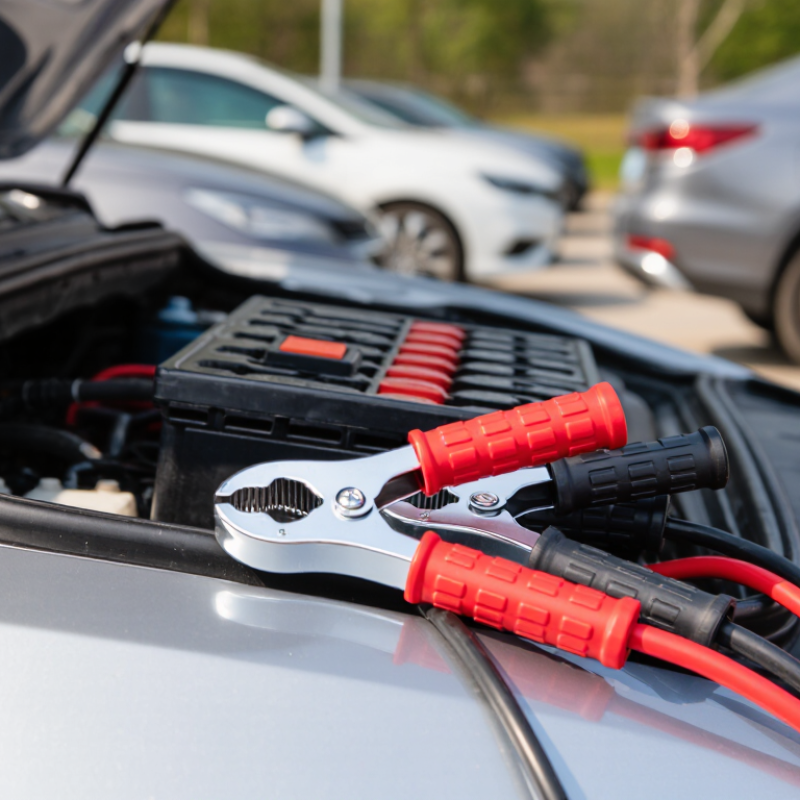
10 Car Battery Jumper Buying Tips for Buyers

Match the Jumper’s Voltage and Starting Current to Your Vehicle

Before comparing starting current, confirm your vehicle’s electrical system voltage. Most passenger cars use 12 volts, but some commercial vehicles use 24 volts. Check the owner’s manual or the battery label rather than guessing from the vehicle’s size. A voltage mismatch can prevent a safe, proper connection. Check the label. Also confirm that the jumper’s clamps and instructions suit your vehicle’s battery layout, especially if the battery is tucked under a seat or cover.

Next, match the jumper’s starting-current rating to your engine and conditions. A small petrol engine usually needs less starting power than a large diesel, and cold weather makes cranking harder. Use the vehicle manual and the jumper’s stated engine-size guidance as your reference. Cold mornings matter. Look for a clear starting-current figure, not only a dramatic peak-current number; those figures may describe different things. If your vehicle is near the upper limit, choose a unit with a suitable margin rather than relying on optimistic assumptions. I’ve found product labels can be confusing, so compare like-for-like ratings and ask the manufacturer when specifications are unclear. A higher number alone does not prove compatibility.

Interpret SAE J537 CCA: 30 Seconds at 0°F, Minimum 7.2 V

When comparing a car battery jumper, read “CCA” carefully. Under SAE J537, a fully charged 12-volt lead-acid battery is cooled to 0°F (-18°C), then tested for 30 seconds. It must maintain at least 7.2 volts during that test. That is a demanding cold-weather measure, not a promise that every jumper can deliver the same current.

Check what the number describes. CCA usually rates a battery, while portable jump starters may advertise peak amps or other output figures. These figures are not interchangeable. Look for the test standard, operating temperature, and clear instructions about compatible engine sizes. If details are missing, ask how the claimed output was measured. Small print matters.

Cold mornings expose weak batteries fast. A dashboard may glow, yet the starter only clicks. A jumper’s advertised number can help with shopping, but cable quality, clamp contact, and charge level also affect performance. Keep the clamps clean and firmly attached to the correct terminals. Not glamorous, but important. I would not choose by the largest number alone; specifications can be confusing, and I still double-check what each one measures.

Compare Lithium-Ion and Lead-Acid Packs by Capacity and Cycle Life

A jump starter’s capacity and starting current describe different things. Peak amps indicate short bursts of cranking power; watt-hours better show stored energy. Compare watt-hours when available, because a milliamp-hour rating without its test voltage can mislead. A 12-volt pack may deliver less usable energy than its headline figure suggests. Check the rated capacity, output voltage, and stated cranking current.

Cycle life also separates lithium-ion and lead-acid packs. Battery University’s technical comparison reports roughly 200–300 cycles for lead-acid batteries at full discharge, versus about 500–1,000 for lithium-ion cells. These are broad reference ranges, not guarantees. Chemistry, temperature, charging habits, and discharge depth all affect lifespan. That comparison is imperfect. Many jump starters are retired because of age, poor storage, or a forgotten charge—not because they reached a laboratory cycle limit.

For a driver who keeps a pack in the trunk, weight and maintenance matter. A lithium-ion unit is usually lighter and easier to carry between cars. Lead-acid models are often bulkier, and deep discharges can shorten their service life. Look for a clear capacity rating and cycle-life conditions, then compare like with like. I would not choose by peak amps alone. A large number looks reassuring, but it says little about how many starts the pack can support. Keep the device charged, and avoid leaving it in a hot vehicle for long periods.

Check for UL 2743 Certification and Reverse-Polarity Protection

When comparing car battery jump starters, check whether the exact model is certified to UL 2743, a safety standard for portable power packs. That matters. Look for the certification mark on the unit or packaging, then confirm the model number in a reliable certification directory. A product page that merely says “tested” is not the same as verified certification.

Reverse-polarity protection is another feature worth checking. It can detect clamps connected to the wrong battery terminals and may warn you with a light or sound before power flows. Picture connecting the red clamp to the black terminal in a dim parking lot: a clear warning can prevent a stressful mistake. Still, protection is a backup, not permission to ignore the instructions. Confirm the positive and negative symbols, and attach the clamps in the order stated by the manual.

Read the manual before an emergency, not beside a dead car in the rain. Check what the indicator means and whether the unit stops output automatically. These safeguards reduce risk, but they cannot correct damaged cables, a cracked case, or careless use. I would also compare clamp quality and instruction clarity; certification alone does not tell the whole story. A small detail, perhaps, but easy to overlook.

Assess Cable Reach, Operating Temperature, and Recharge Time

Cable length matters when the battery sits far from a safe standing position. Check the jumper’s cable reach, then picture the clamps traveling from the device to both battery terminals without stretching. Measure twice. A short lead can force awkward positioning, especially in a crowded engine bay. Extra length helps, but thick cables can be stiff in cold weather, so consider how easily they bend and store. Look for clear polarity markings and clamp insulation, and follow the vehicle and jumper instructions. Never rely on cable reach if the clamps cannot attach securely.

Operating temperature is more than a comfort detail. A unit kept in a freezing trunk may deliver less power, and some models should not be used outside their stated temperature range. Check both the use and storage limits. Cold morning? Give the device time to warm only as its instructions allow; do not heat it directly. Recharge time also varies with the unit’s capacity, remaining charge, and input source. A small indicator can prevent guesswork, but it may not show an exact percentage. Consider whether a full recharge fits your routine, and recharge after use according to the manual. I once assumed a partly charged unit was ready; that was poor planning. A visible charge level and a practical charging method make readiness easier to verify.

10 Car Battery Jumper Buying Tips for Buyers — Assess Cable Reach, Operating Temperature, and Recharge Time

# Buying Tip What to Check Practical Guidance Why It Matters
1 Match the unit to your vehicle Supported engine type and displacement Check the manufacturer’s compatibility chart for your petrol or diesel engine and its displacement. A unit that is undersized for the vehicle may not provide enough starting power.
2 Compare starting-current ratings carefully Starting current, peak current, and test conditions Prioritize a clearly stated starting-current rating and vehicle compatibility; peak-current figures alone may not be directly comparable. Rating terms and measurement methods can vary between products.
3 Assess cable reach Cable length from the unit to each clamp Measure the likely battery-to-placement distance in your vehicle and choose leads long enough to reach without stretching. Adequate reach makes it easier to position the pack safely and connect the clamps securely.
4 Check cable flexibility and clamp access Cable flexibility, clamp opening, and grip Look for insulated leads and clamps that can grip the battery terminals or approved connection points firmly. Stiff or short leads and poorly fitting clamps can make a secure connection difficult, especially in cramped engine bays.
5 Verify the operating-temperature range Minimum and maximum operating temperatures Compare the published range with the climate where you will store and use the unit; check whether charging has a separate temperature limit. Battery performance and safe charging conditions can change with temperature.
6 Estimate recharge time Full-charge time, charging input, and included charger Use the stated recharge time for the supplied charging method, and check whether a faster charging adapter is required or sold separately. A depleted unit is only useful if you can recharge it in time for your next trip.
7 Review electrical safety protections Reverse-polarity, short-circuit, and overcurrent protection Confirm which protections are provided and read the connection instructions before use. Protective features can help reduce the risk of damage from common connection errors.
8 Consider battery capacity and charge retention Published capacity, self-discharge guidance, and maintenance interval Follow the recommended charging and storage schedule; compare capacity figures only when the units and test conditions are clear. Stored units can lose charge over time and may need periodic recharging.
9 Check portability and storage Weight, dimensions, case, and cable storage Choose a size that fits your vehicle storage area and keeps the clamps protected when not in use. A compact, organized unit is easier to carry and less likely to have damaged leads.
10 Read the instructions and warranty terms Permitted battery types, duty cycle, warranty, and support Check the manual for approved use, waiting periods between attempts, storage guidance, and warranty coverage. Correct use helps protect the vehicle and the jumper, while clear warranty terms set expectations for service.
Top