How to Use a Car Battery Jumper?

A dead battery can turn an ordinary morning into a quiet, frustrating wait beside the car. A Car Battery Jumper can help restore enough power to start the engine, but only when the equipment suits the vehicle and the connections are correct. Small details matter: the jumper’s voltage, the positive and negative clamps, and the vehicle maker’s recommended grounding point. Check the owner’s manual before touching the terminals. I still double-check. A rushed connection is not worth the risk.

AAA automotive expert John Nielsen has discussed the importance of following safe jump-start procedures. A careful paraphrase of that guidance is: “Follow the vehicle manual, and never guess at a connection.” That is practical advice, not a substitute for your car’s specific instructions. Before starting, inspect the battery and cables. Do not proceed if the battery is cracked, leaking, or frozen; stop and seek professional help instead. Keep metal tools away from the terminals, and work in a well-ventilated area.

This guide explains how to choose a suitable jumper, connect it in the correct order, and disconnect it safely. Portable jump starters and donor-vehicle cables may have different instructions, so read the device manual too. The engine may start quickly. Still, a successful start does not prove the battery is healthy. If the car repeatedly needs a jump, have the battery and charging system tested. That extra check can prevent another stranded moment.
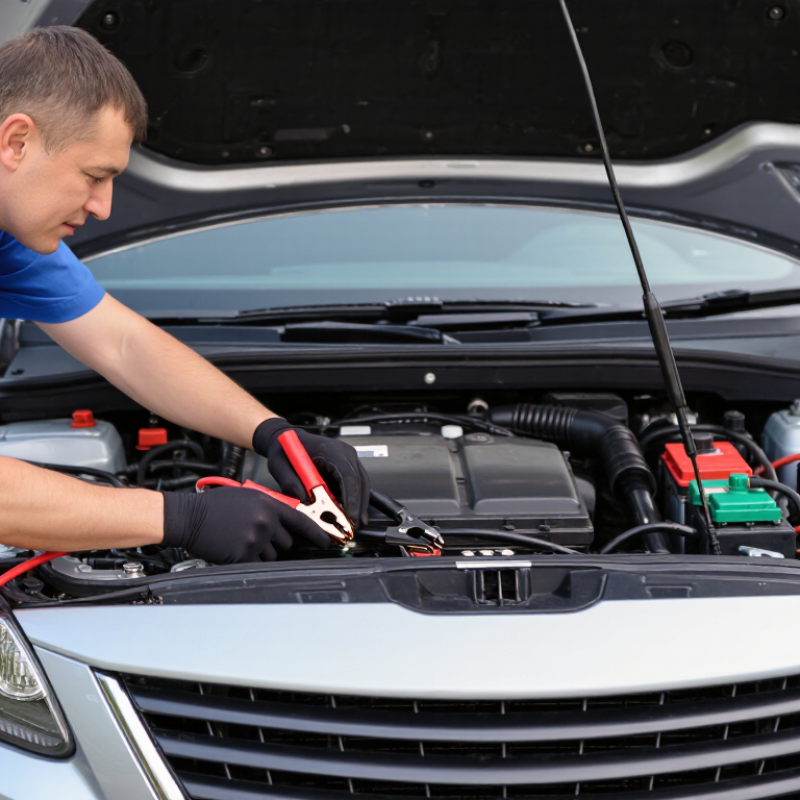
How to Use a Car Battery Jumper?

Check Battery Compatibility and Prepare the Jumper

Before using a car battery jumper, check the vehicle manual and the jumper’s instructions. Most passenger cars use a 12-volt system, but do not assume yours does. Match the jumper’s voltage and starting-current rating to the vehicle’s requirements. Check whether the unit supports your battery type, such as standard lead-acid or AGM. If the labels are unclear, pause and ask a qualified technician rather than guessing. A small mismatch can matter.

Inspect the battery before connecting anything. Do not jump-start it if the case is cracked, swollen, leaking, or frozen. That can be dangerous. Turn off the ignition and accessories, then park safely away from traffic.

Check the jumper’s charge level and look over its cables for cuts, loose connections, or damaged insulation. Keep the clamps apart while preparing them. Red usually marks positive; black usually marks negative, but verify the symbols on both the battery and jumper.

It is easy to focus on the clamps and miss a low charge or damaged cable. Even careful preparation cannot replace the instructions for your specific vehicle.

Turn Off the Vehicles and Locate the Battery Terminals

Switch both vehicles off, remove the keys, and set the parking brakes before opening either hood. Keep the cars from touching. Let hot engines cool, and check each battery for cracks, swelling, leaks, or heavy corrosion. Do not jump-start a damaged or frozen battery. This pause can feel overly cautious, but guessing around a battery is worse.

Find the positive and negative markings on each battery: plus for positive, minus for negative. Red covers often mark positive terminals, but check the symbols rather than relying on color. Some vehicles place jump-start posts away from the battery; use the owner’s manual to locate them and identify the approved ground point.

SAE J537 tests a 12-volt battery’s cold-cranking performance at −18°C, with a 30-second test and a 7.2-volt minimum. Cold conditions can make a weak battery harder to start, so clear terminal identification matters.

The Battery Council International’s 2023 recycling-rate study estimates that about 99% of lead batteries in the United States are recycled; that does not make a leaking or damaged battery safe to handle. Keep metal tools and jewelry away from exposed terminals. Check twice.

Connect the Jumper Clamps in the Correct Order

ADAC’s 2024 Pannenstatistik reported that starter-battery faults caused 44.1% of roadside breakdowns in its data.

A weak battery is common, but a rushed jump-start can create another problem. Park both vehicles close enough for the cables to reach, without letting them touch. Switch off ignition and accessories, and set both parking brakes. Check the owner’s manual for the approved connection points.

Do not jump-start a battery that is cracked, leaking, or frozen. Wear eye protection if available.

Connect the red clamp to the disabled car’s positive (+) terminal, then the other red clamp to the donor battery’s positive terminal. Attach a black clamp to the donor battery’s negative (−) terminal. Connect the final black clamp to an unpainted metal ground point on the disabled car, away from its battery and moving parts.

Some vehicles specify a different ground point, so follow the manual. Keep the clamps apart. Start the donor car, wait briefly, then try the disabled car. If it will not start, stop rather than repeatedly cranking.

Remove the clamps in reverse order, keeping them clear of belts and fans.

I would double-check that last ground connection; it is easy to rush when a car is blocking traffic.

Start the Vehicle and Allow the Battery to Recharge

Once the engine starts, let it run outdoors and keep unnecessary electrical loads off. A steady drive for 20–30 minutes can restore some charge, but it may not fully recharge a deeply depleted battery. ADAC’s 2024 breakdown statistics identify the 12-volt starter battery as the largest cause category, at about 44 percent. A successful start is reassuring, not a diagnosis; an aging or damaged battery may fail again.

Tips: Follow your vehicle manual when removing jumper cables, usually in the reverse order of connection. Keep clamps apart, and never run the engine in a closed garage. If the battery case is cracked, leaking, or swollen, stop and seek professional help.

After driving, avoid switching the engine off somewhere inconvenient until you know the battery can restart the vehicle. If the warning light stays on, starting remains slow, or the car needs another jump soon, have the battery and charging system tested. An alternator fault can prevent proper charging, even during a long drive. I would not rely on idling alone; it may add little charge, especially with lights or heating running.

Disconnect the Clamps Safely and Store the Jumper

Once the engine is running steadily, leave it running while removing jumper cables. Take off the black clamp from the disabled car’s grounded metal point, then the black clamp from the assisting car’s negative terminal. Remove the red clamp from the assisting car’s positive terminal, followed by the red clamp from the revived car’s positive terminal. This reverses the usual connection order. Keep each loose clamp away from metal and from the other clamp. Keep them apart. If you used a portable jump starter, switch it off and follow its manual; some models specify a different removal sequence. I used to think this step was routine, but a pause helps prevent a careless spark.

Before storage, check the clamp teeth and cable insulation for corrosion, cracks, or loose connections. Wipe off moisture with a dry cloth. Let everything cool. Coil cables loosely, with clamp covers in place, and keep them in a dry case away from moving parts, heat, and sharp tools. Store a portable unit at the temperature recommended in its manual, and recharge it as directed. A quick glance at the charge indicator can save time later. Don’t store a damaged cable or a depleted jump starter and assume it will work next time. It is easy to rush the cleanup; I still find that checking the cables takes less time than discovering a fault during the next emergency.

How to Use a Car Battery Jumper: Disconnect Safely and Store It

Disconnect conventional jumper cables in reverse order of connection: remove the black clamp from the vehicle ground, then the donor battery’s negative terminal, followed by the donor battery’s positive terminal and the jump-started vehicle’s positive terminal. Keep clamps from touching each other or metal parts.

Switch off and store a portable jumper as directed in its manual. Keep the clamps clean and dry, secure the cables, and store the unit in a cool, dry place. Vehicle and jumper instructions take priority.

Top