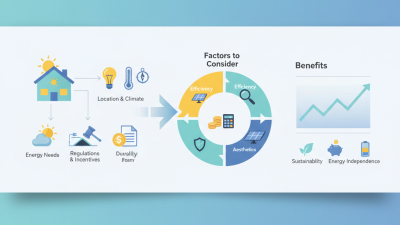
Choosing solar panels for home use is not simply a matter of comparing wattage and prices. Your roof, electricity habits, climate, and local installation rules all affect the final result. A panel that performs well on a sunny showroom roof may produce less energy beside a chimney or beneath afternoon shade.
This guide presents ten practical tips for making a more informed decision. It considers panel efficiency, temperature performance, warranties, degradation rates, inverter options, roof condition, and installer experience. It also explains how to compare quoted system sizes with your household’s actual electricity consumption. Look beyond the largest number. A reliable assessment should include recent utility bills, roof measurements, shading observations, and realistic production estimates.
Small details matter. A south-facing roof is not always the only suitable option. A ten-year-old roof may need attention before installation. Battery storage can improve resilience, but it also increases cost and maintenance. No roof is identical. Even professional estimates can miss changing shade from new trees or nearby construction. That is why homeowners should request clear documentation, verify certifications, and ask who handles repairs after installation. The cheapest proposal may not remain cheapest after replacing poorly matched equipment. There is no perfect panel for every home, but careful questions can prevent expensive surprises and support a safer, more dependable investment.
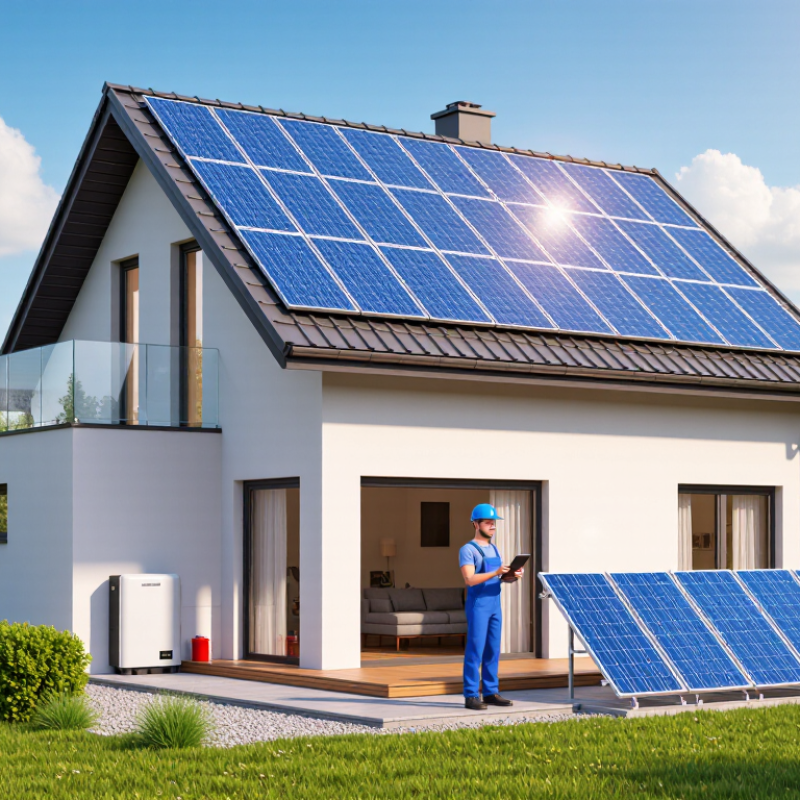
10 Tips for Choosing Solar Panels for Home Use
Before comparing panels, measure how much electricity your home actually uses. The U.S. Energy Information Administration reported average residential consumption of 10,791 kilowatt-hours in 2022. Your bills may differ because of heating, cooling, occupancy, and seasonal habits. Collect twelve months of bills, then mark unusually high periods. Do not size the system from one expensive summer bill.
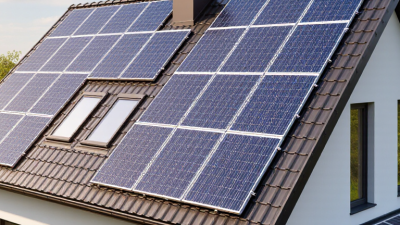
Roof potential matters just as much. A roof can look excellent from the driveway and still lose production behind a chimney. Check usable area, roof age, orientation, slope, nearby trees, and afternoon shadows. The National Renewable Energy Laboratory’s PVWatts model uses weather data, tilt, azimuth, and shading assumptions to estimate annual output. Run several scenarios, not one optimistic estimate. Small details matter.
A south-facing roof is often favorable in the northern hemisphere, but it is not automatically best. East- and west-facing sections can match morning or evening demand. Record roof dimensions and photograph shadows at different times. A professional assessment should review structural condition, local wind exposure, and electrical capacity. The International Energy Agency Photovoltaic Power Systems Programme highlights continuing solar growth, yet more installations do not make every roof suitable. That is an easy mistake to make. Leave room for uncertainty, especially if trees are growing quickly or future electricity use may change. Compare panels only after these limits are understood.
Choosing solar panels starts with two numbers: efficiency and rated power. Fraunhofer ISE’s Photovoltaics Report 2024 places mainstream crystalline-silicon modules in the low-20% efficiency range. A 20% panel converts less sunlight than a 23% panel, but efficiency alone does not determine annual production.
Measure the roof first. A 30-square-meter roof could theoretically support about 6.0 kW at 20% efficiency, or 6.9 kW at 23%, under standard test conditions. Real output falls with heat, dust, shading, wiring, and inverter losses. Roof shape matters more than many sales sheets admit.
Rated power usually ranges from 400 to 550 W in today’s residential market. The International Energy Agency Photovoltaic Power Systems Programme reported continued growth in module power as wafer and module sizes increased. However, a 550 W panel may require more roof space and stronger handling. Compare watts per square meter, not watts alone.
Check the dimensions carefully. Also inspect temperature coefficients, product warranties, and independent degradation data. NREL research commonly reports roughly 0.5% annual module degradation for established technologies, though installation quality changes outcomes. I would choose 23% efficiency on a small, shaded roof. On a large roof, a lower-cost 20% panel may perform adequately. My first estimate is rarely perfect. Recheck it against a year of local sunlight data.
| Tip | What to Compare | Typical Residential Benchmark | Why It Matters for Your Roof | Practical Check |
|---|---|---|---|---|
| 1. Match panel efficiency to roof space | Module efficiency | About 20%–23% for many current residential modules | Higher efficiency produces more electricity from the same roof area. | Prioritize the higher end of the range when usable roof area is limited. |
| 2. Check rated power against available area | Nominal power per panel | Approximately 400–550 W per module | A higher-wattage module can reduce the number of panels needed for a target system size. | Confirm that panel dimensions and mounting clearances fit the roof layout. |
| 3. Evaluate temperature performance | Temperature coefficient of maximum power | Often around −0.29% to −0.40% per °C | Power generally decreases as the cell temperature rises above the test reference temperature. | For hot climates, a less-negative coefficient can improve summer energy yield. |
| 4. Review first-year and annual degradation | Power-loss rate over time | Many modules specify roughly 1%–2% in year one and about 0.3%–0.5% annually afterward | Lower degradation helps preserve long-term energy production. | Read the linear performance warranty rather than relying only on the product nameplate. |
| 5. Confirm mechanical strength | Front and rear load ratings | Common ratings are about 2,400 Pa for wind load and 5,400 Pa for snow load, but values vary | The roof location may experience wind uplift, snow, or hail-related stress. | Match the module and racking design to local building codes and site conditions. |
| 6. Consider partial shading | Electrical layout and shade tolerance | Series-connected panels can be affected by shade; module-level electronics may improve independent operation | Chimneys, trees, dormers, and nearby buildings can reduce output. | Request an hourly shade analysis and compare string, optimizer, or microinverter designs. |
| 7. Compare low-light and bifacial claims carefully | Performance conditions and rear-side gain | Bifacial gain depends strongly on roof reflectivity, clearance, and mounting geometry | A typical dark, low-clearance residential roof may provide limited rear-side benefit. | Use independently modeled energy estimates instead of assuming the maximum advertised gain. |
| 8. Check inverter and system compatibility | Voltage, current, and inverter operating range | Panel voltage and current must remain within the inverter’s input and maximum-current limits | A high-power panel is not automatically suitable for every inverter or electrical design. | Have the installer verify open-circuit voltage at the lowest expected temperature. |
| 9. Verify dimensions, weight, and roof condition | Panel size, mass, access paths, and roof age | Large-format modules commonly require two-person handling and adequate structural support | A roof may need repair or replacement before installation, especially if it is near the end of its service life. | Obtain a structural assessment and reserve required fire and maintenance pathways. |
| 10. Compare warranties and certifications | Product warranty, performance warranty, and safety certification | Product coverage commonly spans about 12–25 years; performance coverage is often 25–30 years | Clear warranty terms can reduce uncertainty about defects and long-term output. | Check certification for the installation region, exclusions, claim process, and labor coverage. |
Note: Actual energy production depends on location, orientation, tilt, weather, shading, soiling, system losses, and installation quality. Efficiency and power ratings are laboratory nameplate values measured under standardized test conditions.
Tip 1: Start with your roof’s sunlight pattern, not the highest advertised wattage. Shade from chimneys can reduce annual output sharply.
Tip 2: Compare N-type cells with conventional P-type cells. N-type designs generally resist light-induced degradation better, but installation quality still matters.
Tip 3: Request the manufacturer’s degradation warranty and independent test results. Numbers without test conditions deserve caution.
Tip 4: Check the temperature coefficient. A value near -0.30% per °C usually loses less power in heat than -0.40% per °C.
Tip 5: Use your local summer roof temperature, not the weather-app average. Dark roofing can become surprisingly hot.
Tip 6: Read the NMOT rating, because it reflects more realistic operating conditions. The Fraunhofer Institute’s Photovoltaics Report highlights how module performance changes under real temperature and irradiance conditions.
Tip 7: Examine low-light performance using measured curves, not vague marketing language.
Tip 8: Ask for power data at 200 W/m² or lower. Cloudy mornings expose weak differences.
Tip 9: Compare the inverter’s startup voltage and maximum tracking range with the planned array.
Tip 10: Calculate lifetime yield, not only first-year output.
The IEA PVPS Trends 2024 report recorded about 456 GW of new solar capacity worldwide in 2023, increasing the importance of careful product comparisons.
My practical mistake was trusting laboratory efficiency alone; roof orientation, ventilation, and wiring losses changed the result. Leave room for uncertainty.
Choosing solar panels for home use requires more than comparing today’s price. A panel may look efficient on a showroom sheet, yet its long-term output matters more. Look for a product warranty lasting 25 to 30 years. Check what it covers, including defects, frame damage, and performance loss. Read the actual warranty document. Marketing summaries can hide important conditions.
Tip: Compare degradation rates carefully. A rate below 0.5% annually is a strong target. At 0.5%, a panel may retain about 87.5% of its original output after 25 years. Small percentages become significant over time. Ask whether the rate applies from the first year or after an initial reduction. That detail is easy to miss.
Tip: Request independent test results and written performance guarantees. Confirm who handles warranty claims and whether labor is included. Keep installation records, product labels, and maintenance photos in a secure folder. Roof shade, dust, and poor ventilation can reduce real output, even with excellent panels. I would not choose a panel by efficiency alone. A slightly less efficient model with clearer coverage may create fewer problems later. The numbers still need checking. Also compare temperature performance, because hot summer roofs can lower production. Have a qualified installer inspect roof strength and wiring before purchase.
10 Tips for Choosing Solar Panels for Home Use
Verify IEC certification before comparing prices. Tip 1: Check IEC 61215 for design qualification. Tip 2: Confirm IEC 61730 for electrical safety. Ask for certificates tied to the exact panel model. Tip 3: Read the test scope, not just the logo. Tip 4: Compare temperature coefficients for hot rooftops. Tip 5: Request a roof inspection, shade analysis, and written production estimate. The IEA PVPS Trends 2024 report recorded more than 1,600 GW of global solar capacity by the end of 2023. That scale does not guarantee quality at your address.
Tip 6: Investigate installer quality carefully. Verify licenses, insurance, training, and local references. Tip 7: Demand itemized pricing and clear workmanship terms. Tip 8: Ask who handles permits, grid approval, monitoring, and future repairs. A neat proposal can still hide weak service. I would not rely on online reviews alone; call two recent customers and inspect their installation photos.
Tip 9: Check incentives on an official government website. Confirm eligibility, deadlines, tax treatment, and whether rebates change after installation. Tip 10: Calculate lifetime cost per watt, including financing, maintenance, inverter replacement, and removal. Then compare estimated lifetime energy, not panel price alone. NREL reports a median photovoltaic degradation rate near 0.5% annually. IRENA reported a 2023 global weighted-average utility-scale solar cost of USD 0.044 per kWh. Residential costs differ, so use these figures as context, not a promise. A spreadsheet may expose assumptions I initially overlooked.